Home Wearables HFM Mills Facebook
Heritage Farm 1923 Loom
Huntington, WV
by Cyndi Bolt
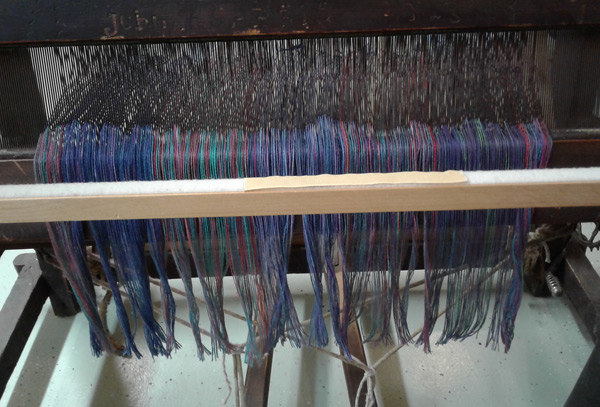
PREPARE OLD WARP FOR TYING ON -
The ends of the old warp are left threaded through
the heddles (wires with eyes on the moveable harnesses)
and the reed (metal piece with slots)
About 16 to 20 inches are needed to tie on to the new warp
Tie on two vertical support sticks (lary sticks - not shown)
from breast beam to the edges of the reed
Place the velcro covered stick on them and tie it down
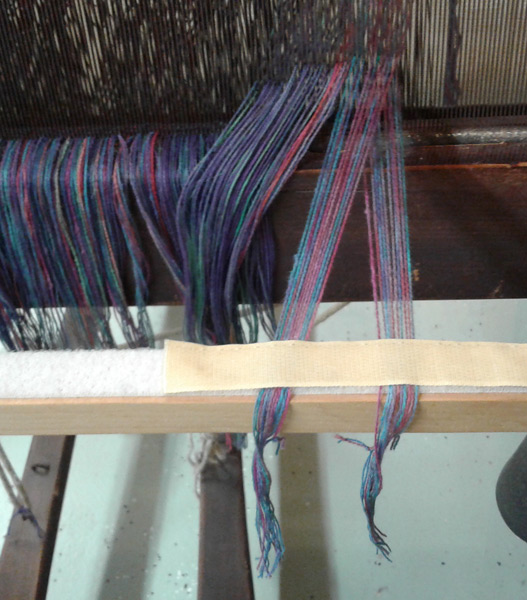
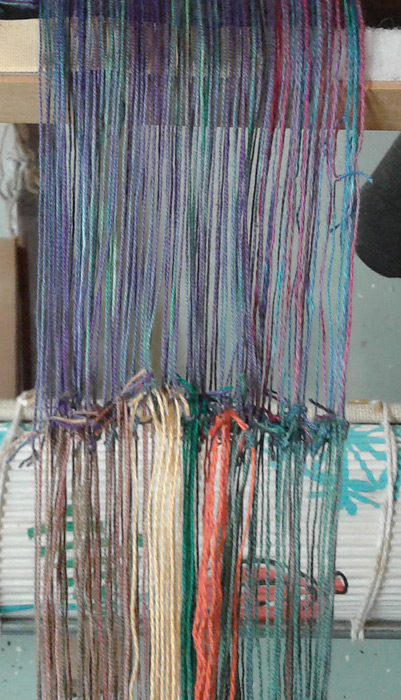
OLD WARP TIED DOWN
Comb a section of old warp ends, raise the front harness,separate yarns into
odd threads (front harness) and
even threads (back harness)
Place old warp ends on velcro stick:
front harness threads to the left and back harness threads to the right
Now each thread in the threading sequence can be picked up to tie on to the new warp
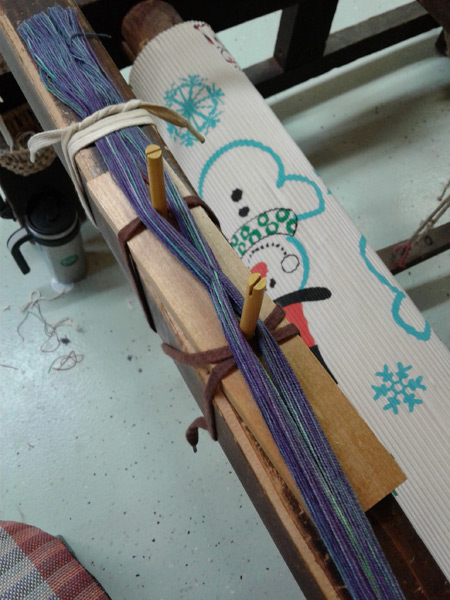
NEW WARP TIED DOWN
Tie first warp chain to breast beam, on the right side
Tie the cross bar (piece of wood with the two tinker toys stick in it) to the breast beam
Put the weavers cross in the warp on the cross bar
Untie ends and trim evenly
Tie the cut ends down
You need the chain stable to pull each thread out of the cross
There are two threads in each dent (slot) of the reed
Separating the odd thread from the even threads lets you choose which thread is next in threaded sequence
Pick up the first thread of the old chain
Pick up the first thread on the cross bar
Tie the two threads together with an overhand knot, lay to the right side
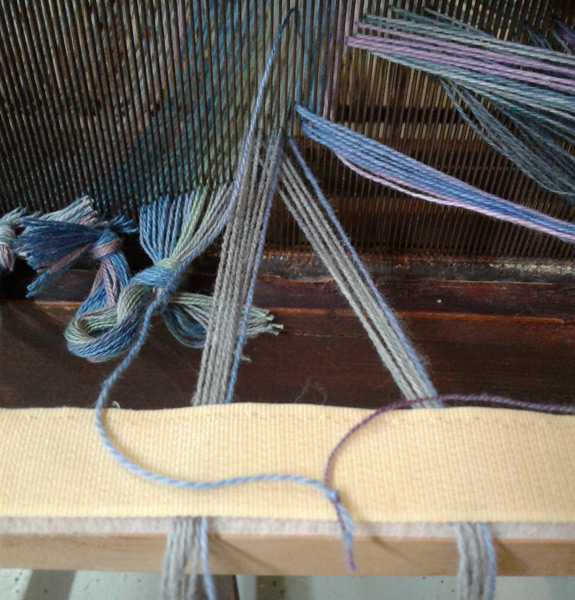
Tie the rest of the warp on the same way
Repeat for the rest of the chains
A finished tied-on chain
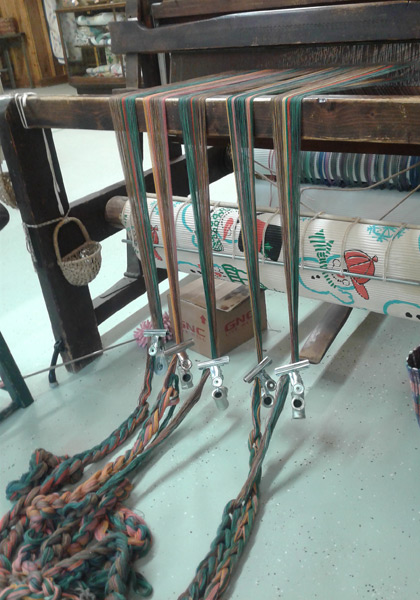
BEAMING
Straighten the chains over the breast beam
Add weights (spring clamps with about 6 oz metal elbow pipe fittings)
Begin cranking on the warp
Straighten any tangled threads as you go
When weights come up to the breast beam, unchain some warp
and reattach the weights near floor level
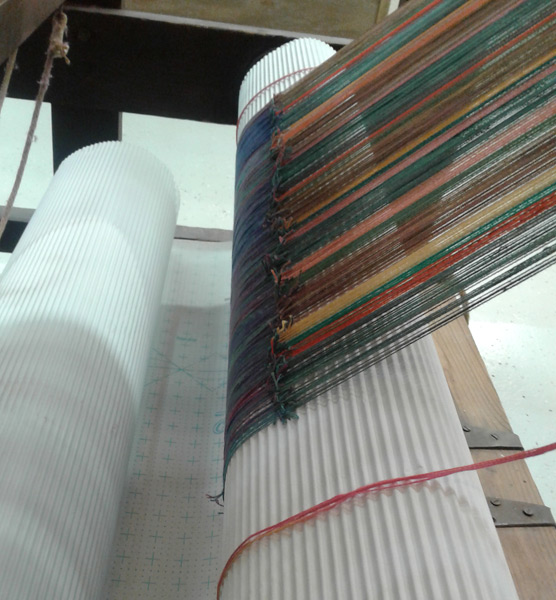
Wind corrigated paper (or other heavy paper) into the warp on the warp beam
(at the back of the loom) to keep threads even
Every few yards beamed, give each chain a hard pull to work excess slack out of the warp
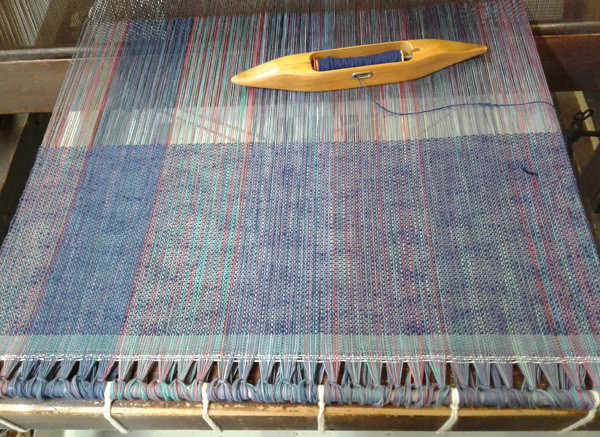
TIE ON TO CLOTH BEAM ROD AND BEGIN WEAVING
When there are about 20 inches of the warp left unwound in front of the reed,
untie the ends of the warp and tie them to the cloth beam apron rod
Tie from the center outward
Tighten the warp to a moderate tension on the finished warp
Begin weaving
LOOM HISTORY
I was given this loom by a
lady who worked at Merrill-Lynch in Huntington, WV. She said she wanted to clear out her
basement. As far as I can remember, she
may have said her grandfather would use the loom for some rug weaving, when he
needed new rugs. I can’t recall if he
was the maker or not.
The maker made the loom with materials he had in hand, in 1923. The loom is made with mortise and tenion joints, so you can take it apart and move or store it. The warp and cloth beams are rough logs. Door hinges to swing the beater and treadles. UNIQUE to this loom: a delicate bicycle sprocket as the back beam brake. Hand shaped metal pieces. The only pieces purchased are the reed and the harnesses.
Cyndi Bolt- - -
© Cyndi Bolt Designs
Website Design by Cyndi Bolt
cyndi@cyndibolt.com
304-849-4341
- - -
Mills Family Cemetery
Mills Family Cemetery and Historic Images